
This upgrade consisted of adding a hydro booster, rear disc conversion, and while I was at it one-piece axles. I decided to do the one-piece axles and the rear disc at the same time since both involed taking out the axle shaft(save me some time later down the road).
Dismantle Old Hardware
Take the tire and brake drum off. Dismantle all the brake components and remove old emergency brake cable. Once all brake parts are out remove the four bolts holding the backing plate to the axle housing. After removing bolts take out the old axle. Some screw the brake drum on backwards and use it as slide hammer to get the axle shaft out. I just put my tire back on with a couple lug nuts and kicked the backside of it. Slid out easily. Keep the backing plate and old shims.
Tire and Drum Off
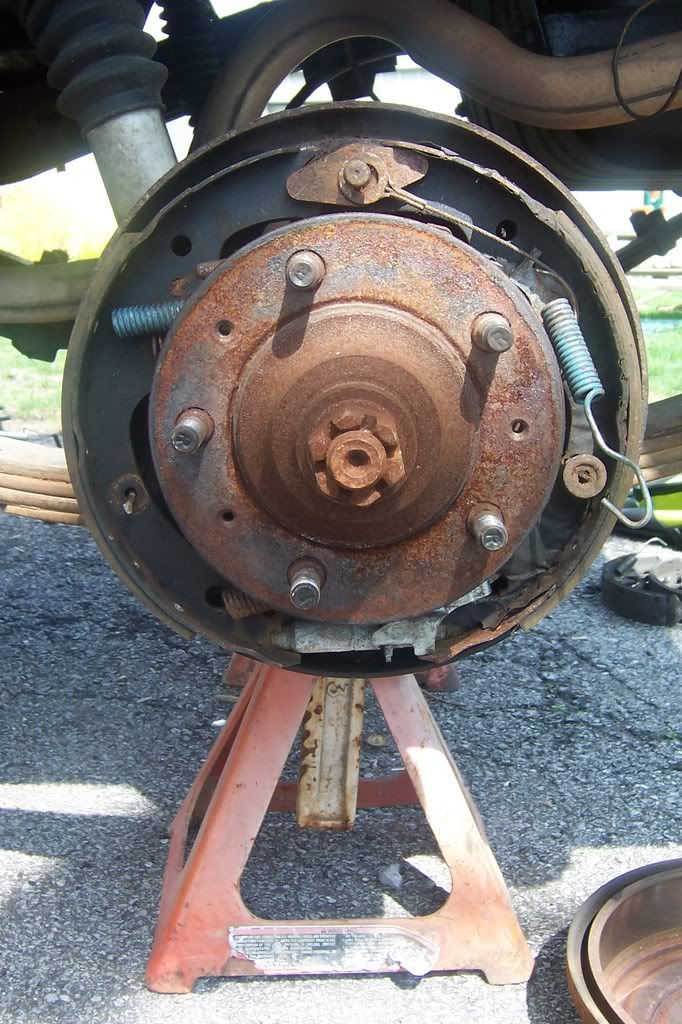
Brake Components Off
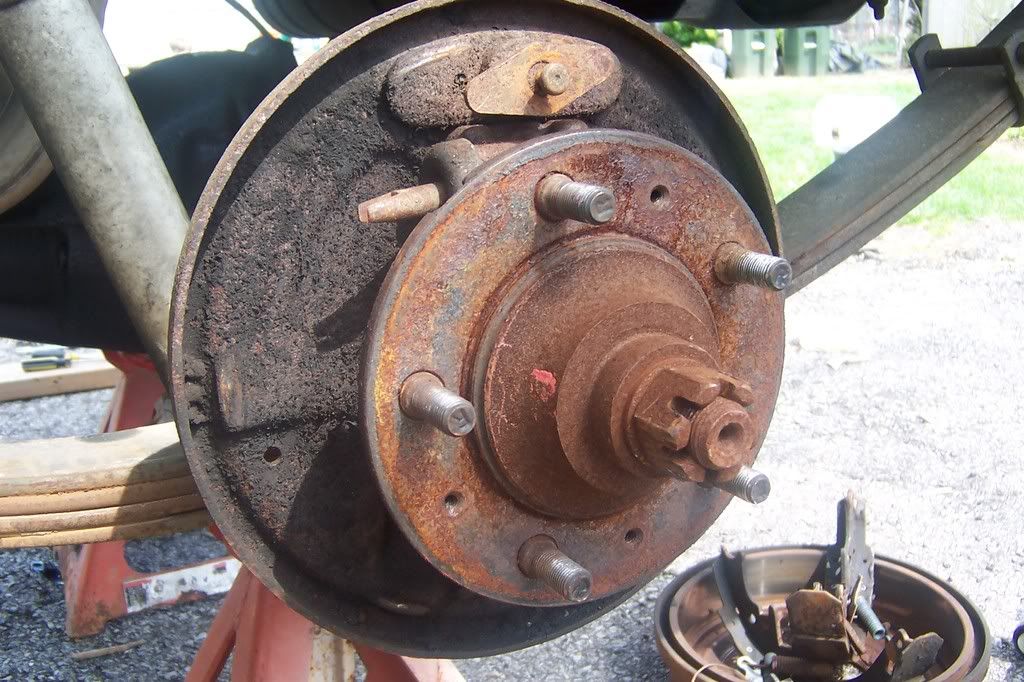
Taking the Axle Shaft Out
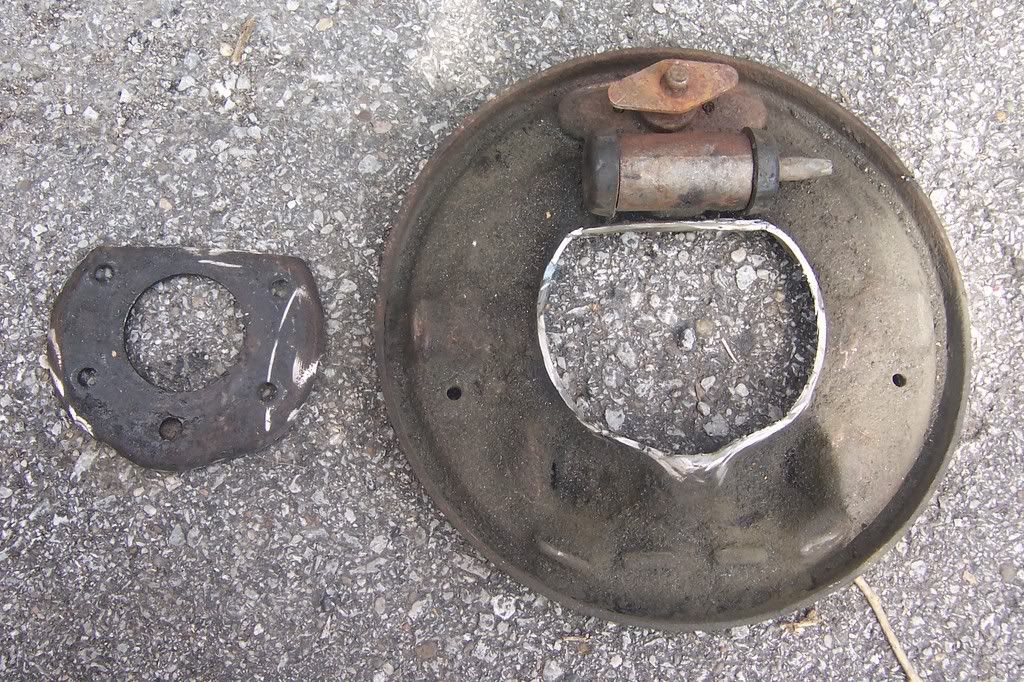
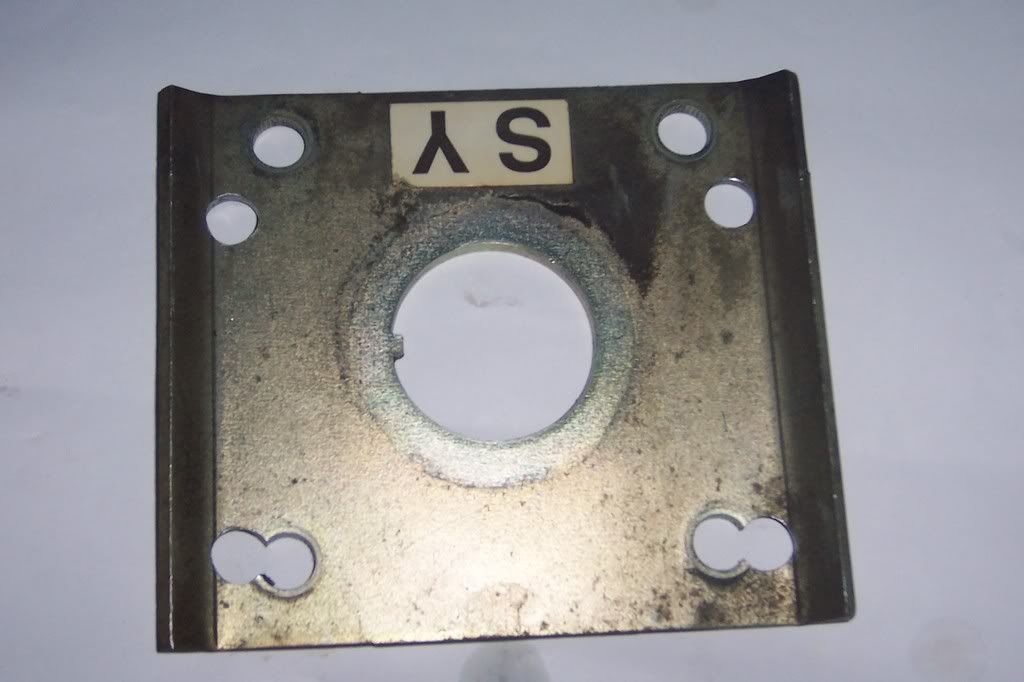
Modifying Drum Backing Plate
You still need to keep the center section of the old backing plate to use as a bearing retainer. I used a 4" grinder and cut right below the first curve from the inside of the plate
Backing plate
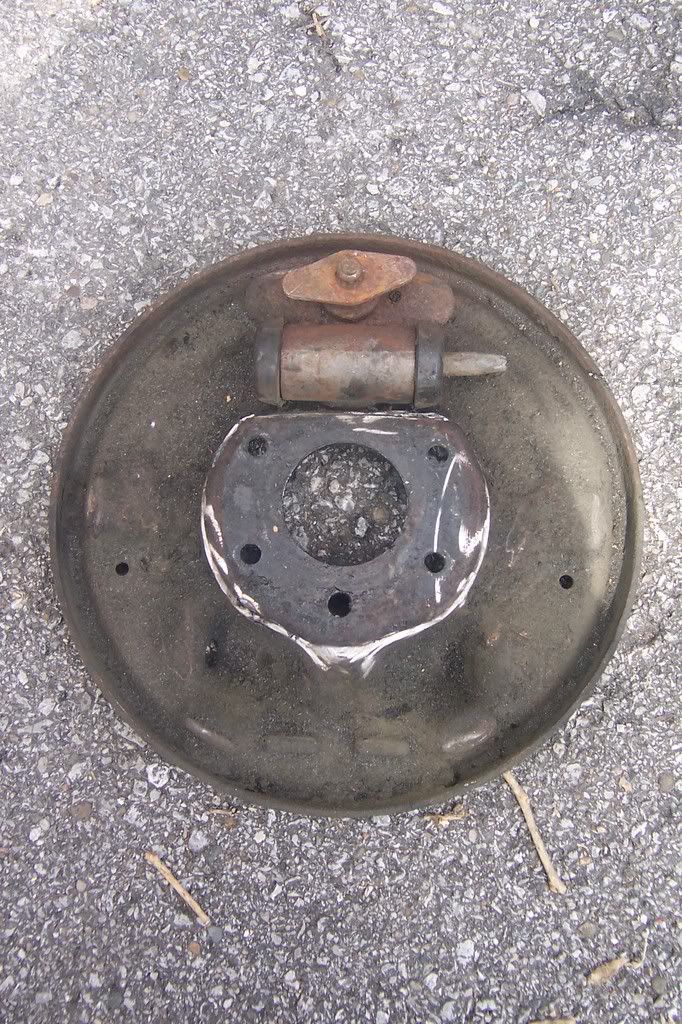
Keep Center Section
Installing New One-Piece Axle
Here is a mock of the order of things that go on the axle. Wanted to make sure I had the right order before being pressed on.
Instructions
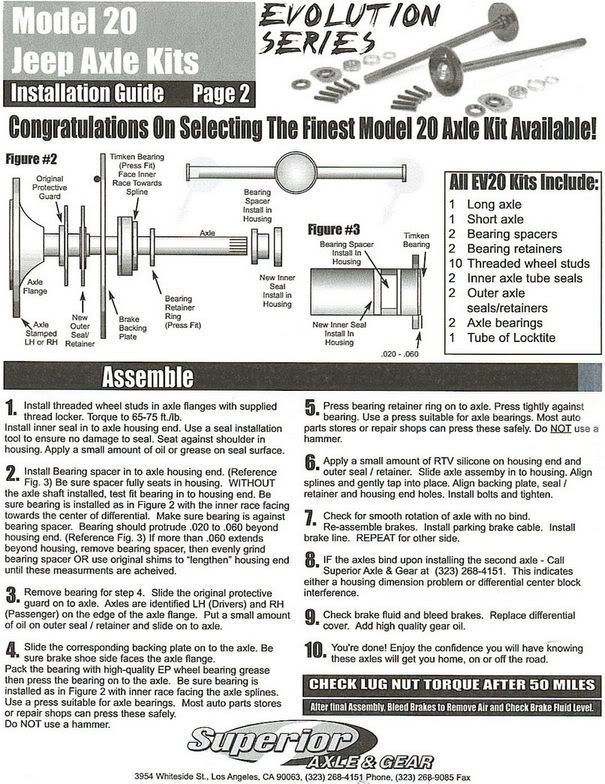
My Axle
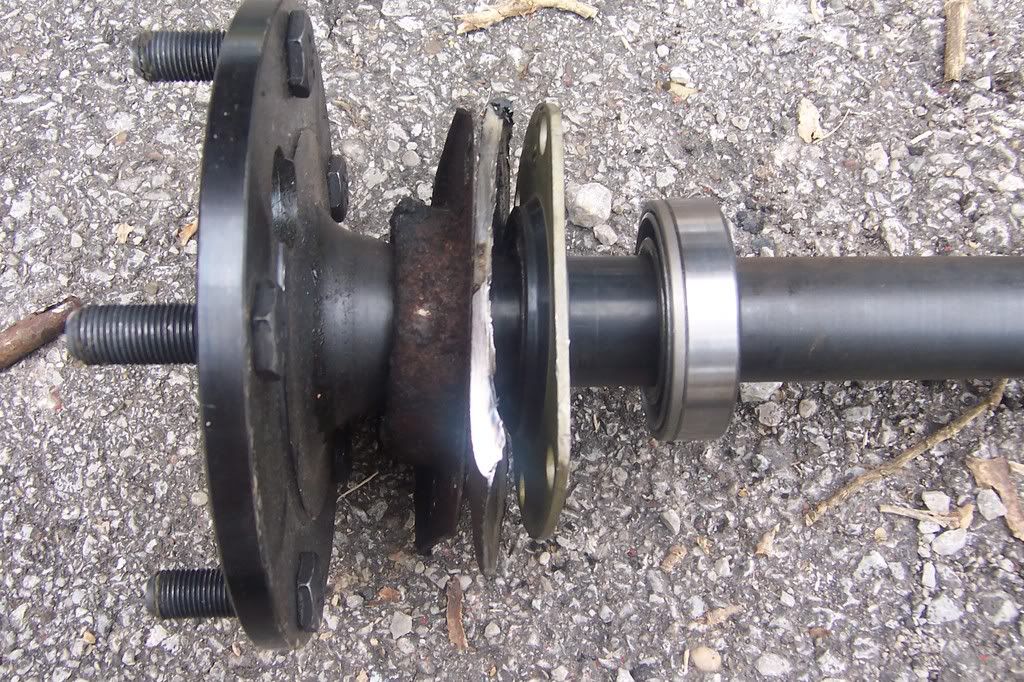
Once you have the order right press the bearings on and install the new inner seal and then the new shafts. Use the old shims and grind the spacer as needed to keep within specs of the instructions as to how much your bearing should come out of the axle housing.
New Axle Mounted

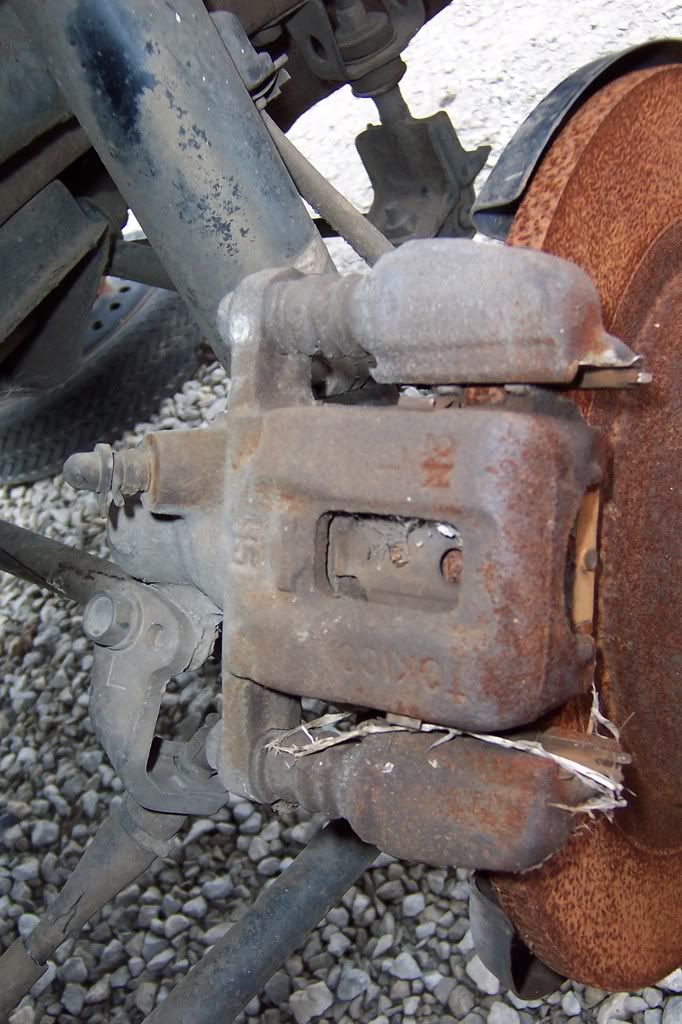
Rear Disc Installation
PARTS:
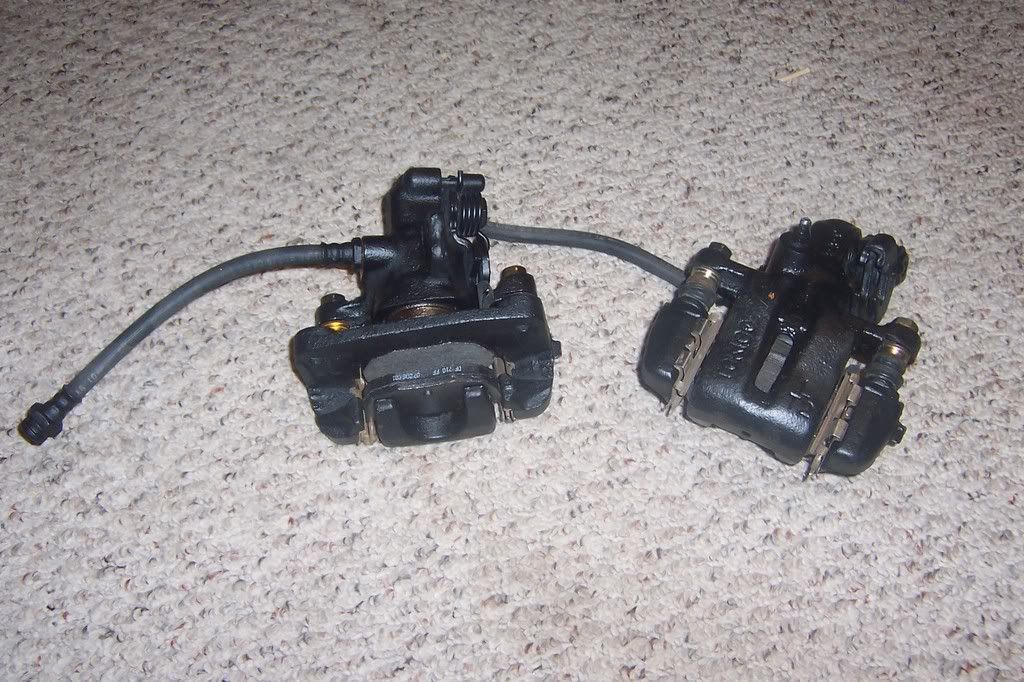
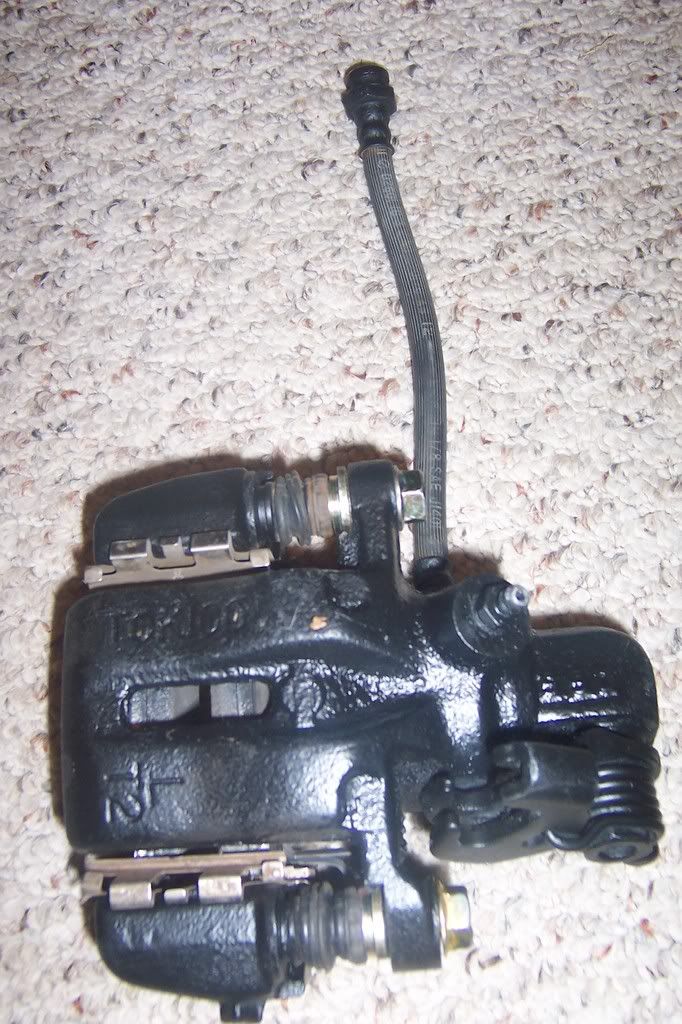
A set of brake callipers from an 84-86 Nissan 300ZX. I have heard other Nissan models of the same era use these callipers but I have not confirmed this. This is a good calliper to use because you can modify your e-brake cable and still have an emergency brake. I cut about a foot of the ebrake cable off the donor ZX to keep the old ends and mounting hardware.
Donor Calliper
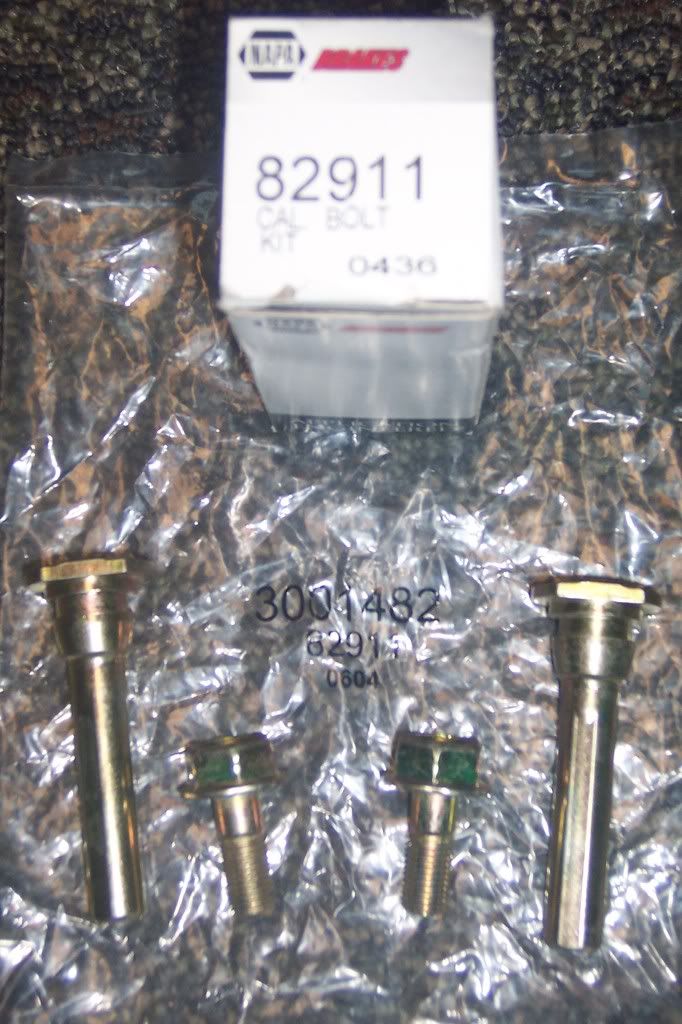
New bolts for Calliper
Donor Ebrake Cable
Brake rotars from either a Geo Tracker, Suziki Sidekick or Samuari. I used the ones from a Tracker because they have a larger Hat id and I didn't have to do any grinding to get them to fit. I bought these new at local parts store.
New pads. Keep the plates on the back of the old pads to install on the new ones
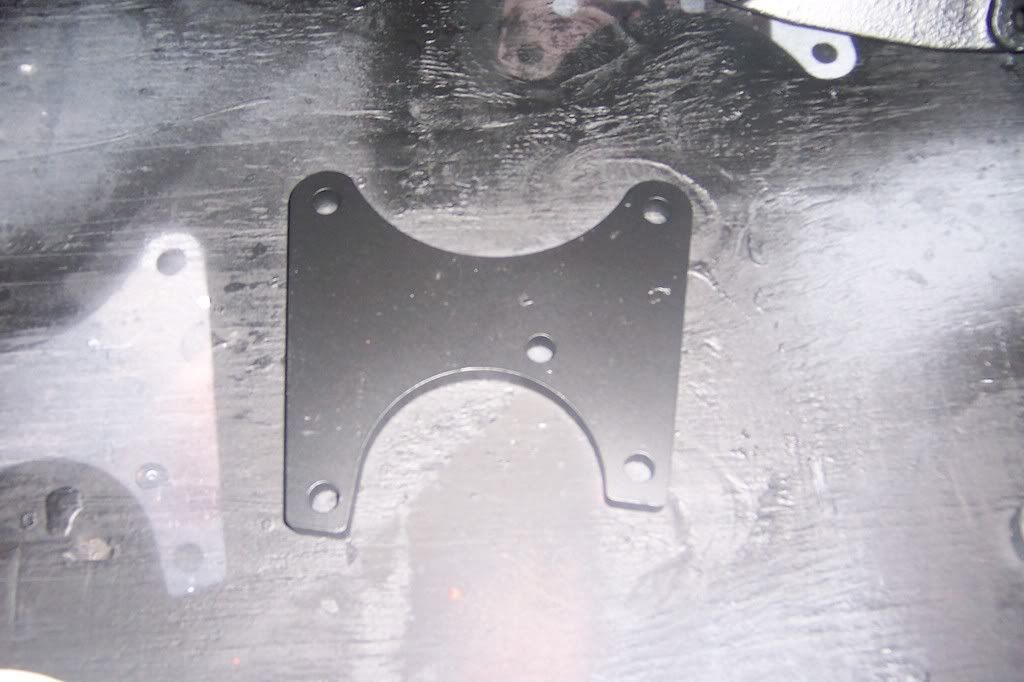
Mounting bracket. I was able to get a CAD drawing off of cjoffroad.com for my bracket. A local shop hooked me up with some laser cut pieces. Turned out nice and fit great.
Calliper Mounting Plate
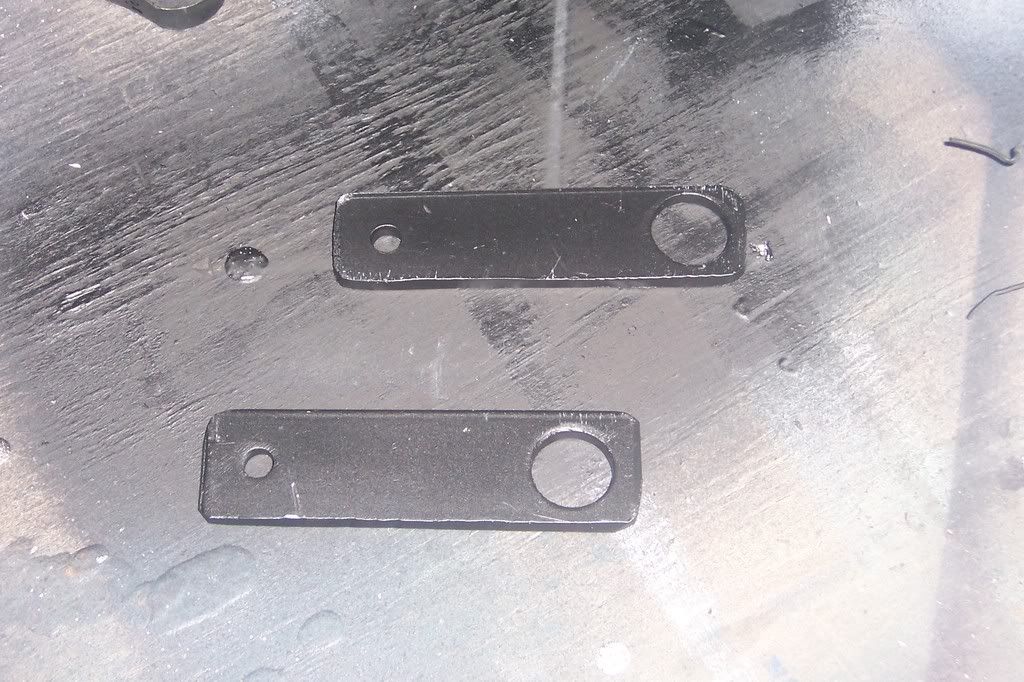
Hose Plate to Secure in Place
Installation
The brackets fit on top of the axle flang and use three of the existing holes to be mounted. These are the same holes that secure the bearing retainer. You need to get three longer grade 8 bolts to make up the difference in thickness.
Bracket Mounted
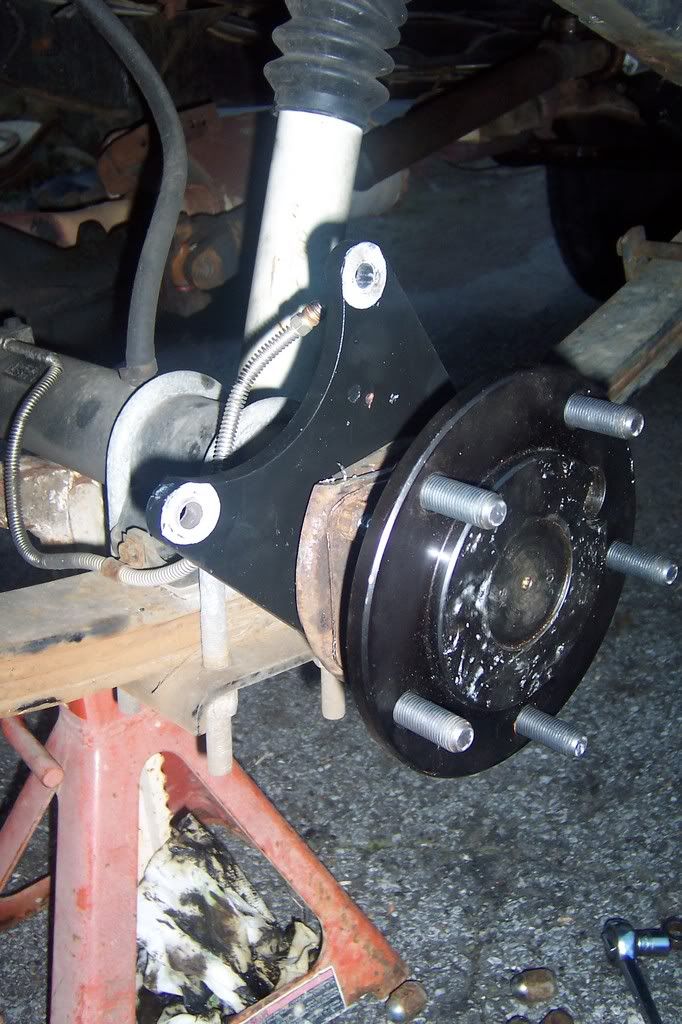
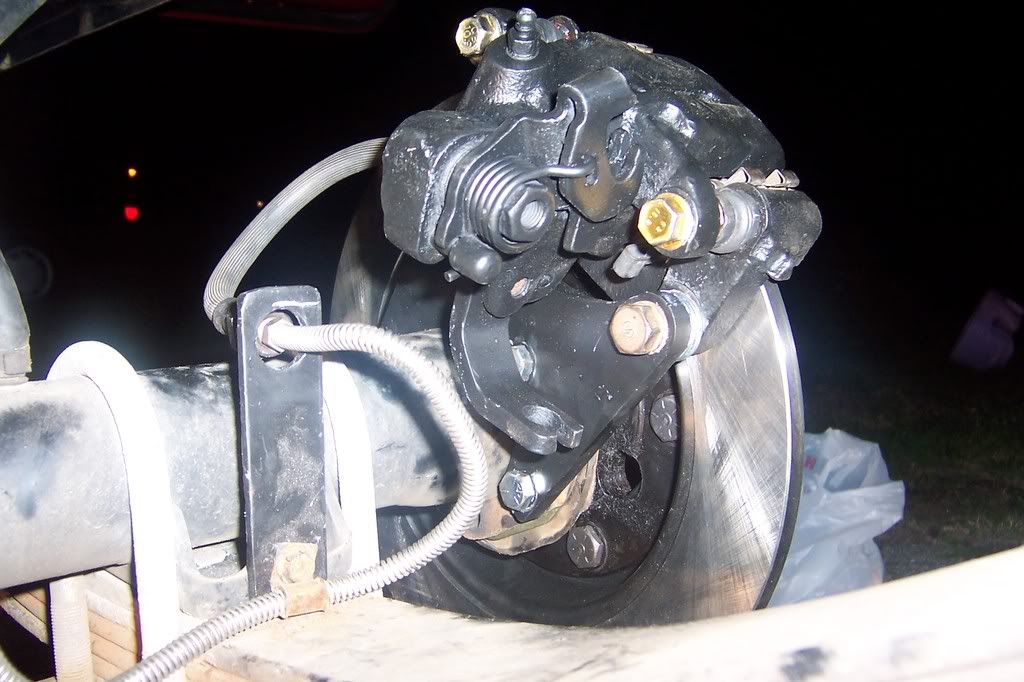
You need to add a few washers between the bracket and calliper to allign properly
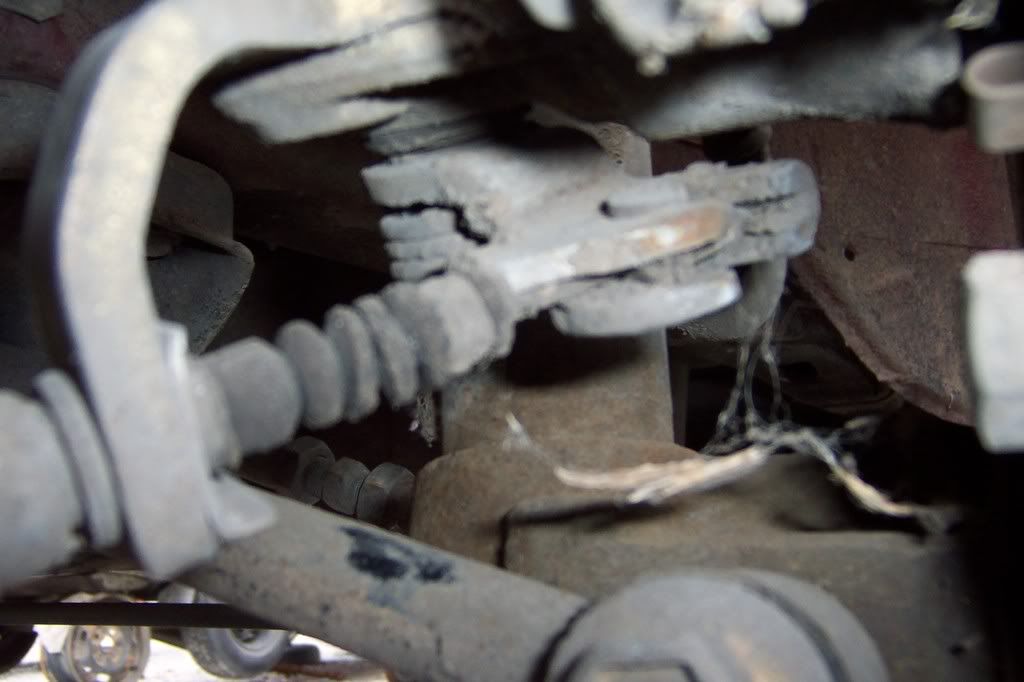
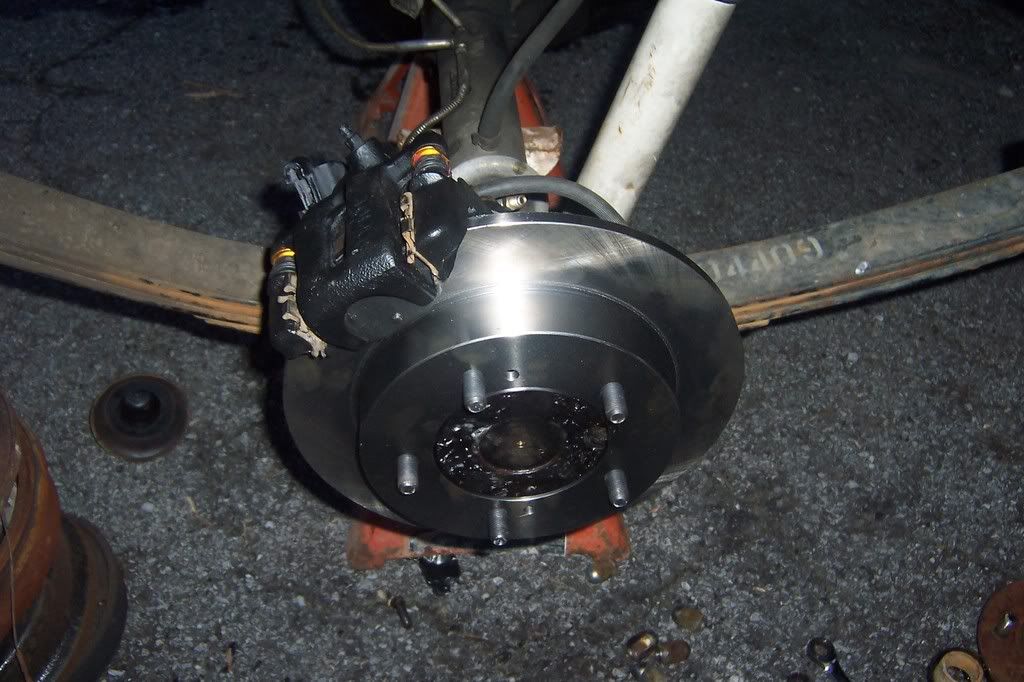
Rotor and Calliper Mounted

My next project is to adapt the old e-brake cable with the piece I took from the donor ZX to have a working emergency brake
Hydro Brake Booster
PARTS:
94 Chevy Astrovan Booster and Master Cylinder
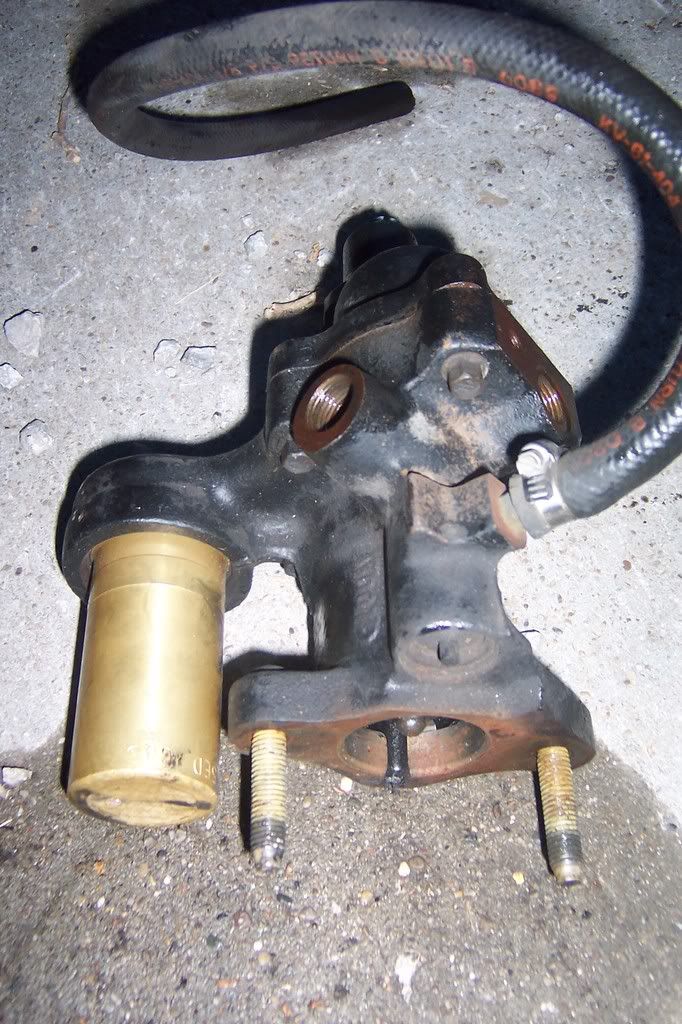
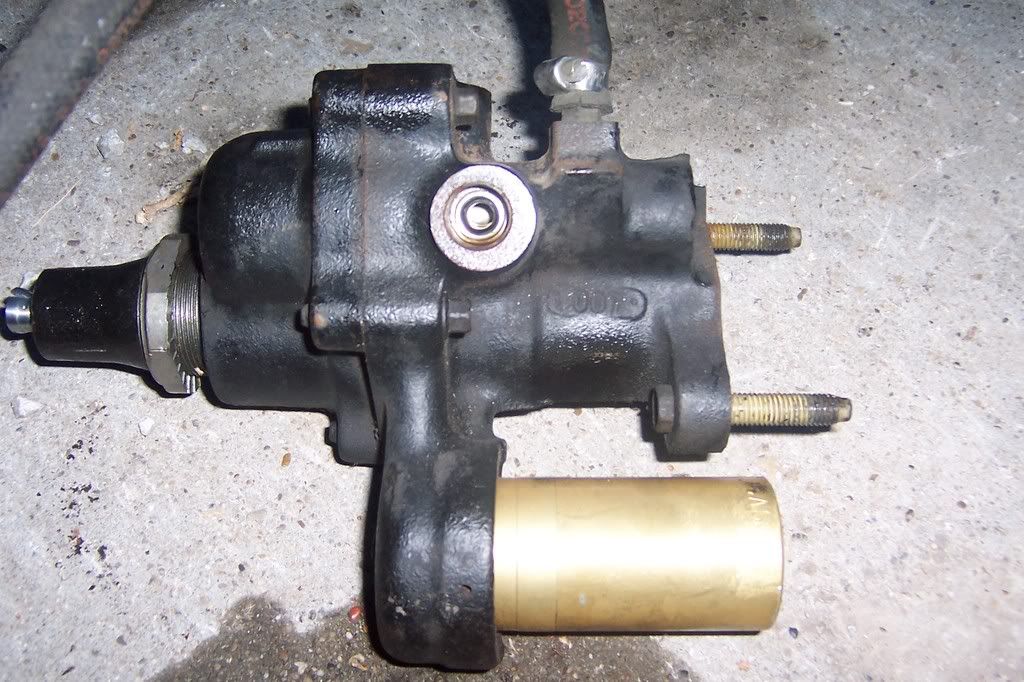
Mounting Plate from Donor Booster
You will need to redrill this to fit the bolt pattern in the CJ
Hydraullic Hoses
These are a compbination of the donor hoses and your old steering hoses. There is a diagram on cjoffroad.com for full plumbing.
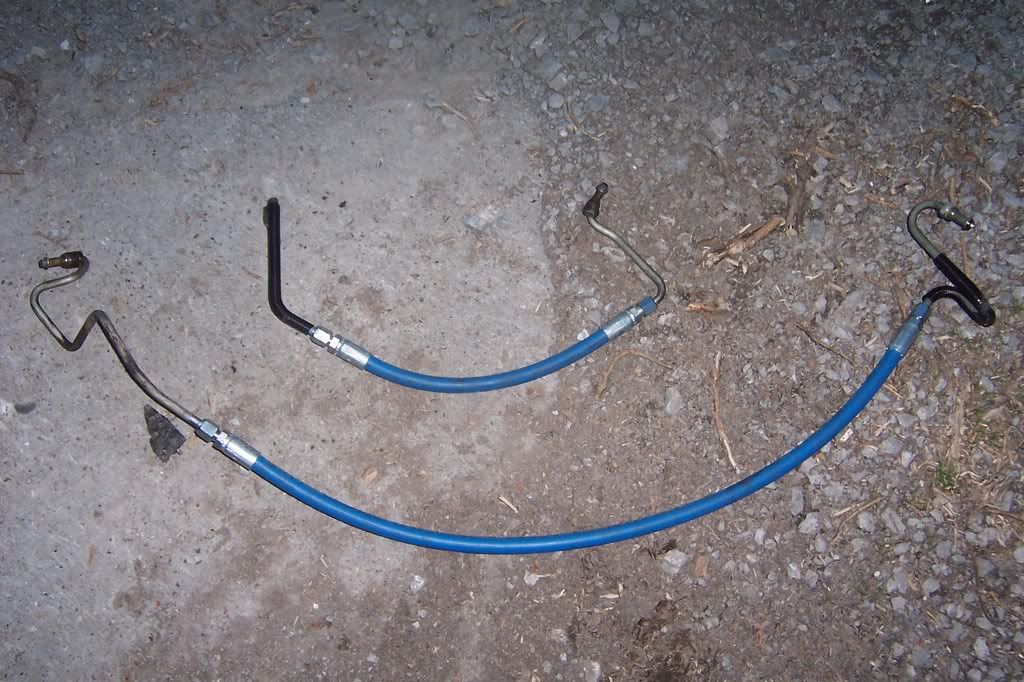
T-Fitting
You need a brass t-fitting to splice your return line into the existing return line for the steering
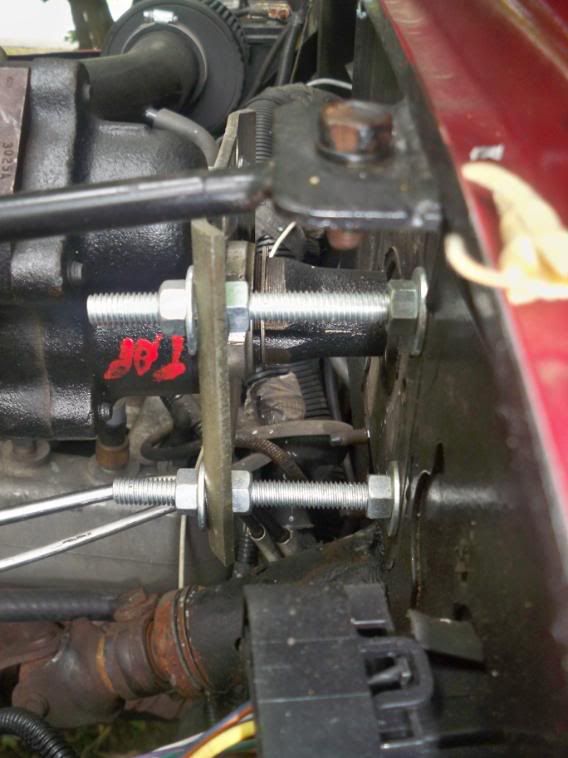
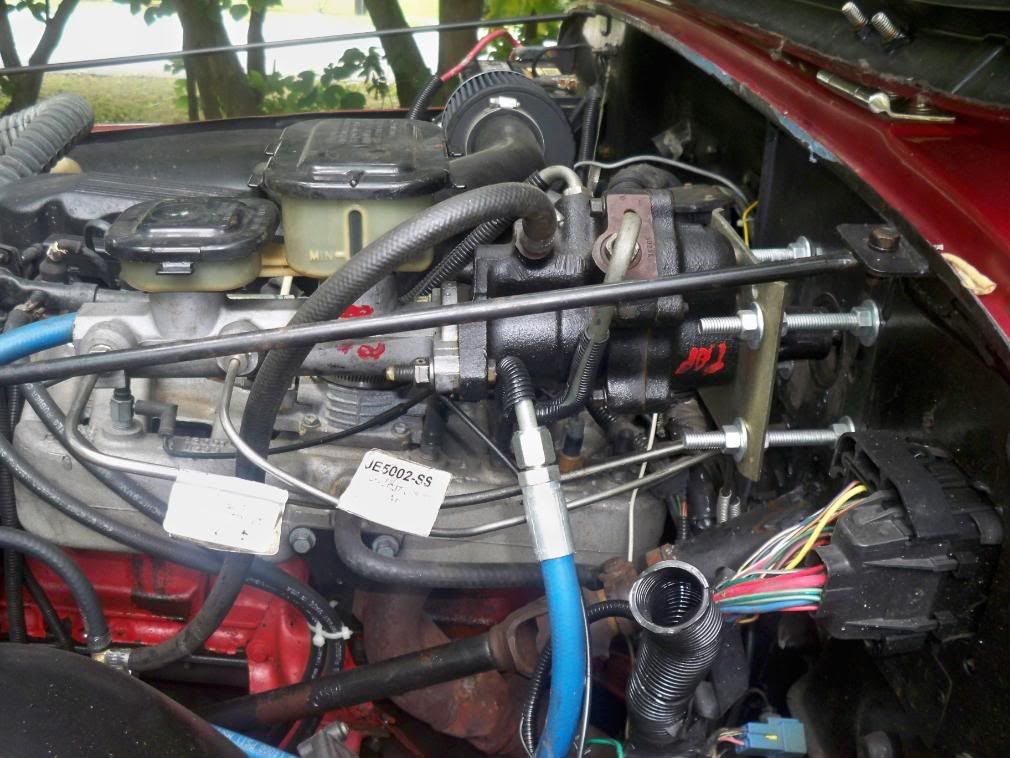
Installation
I used four long bolts with flat washers to bolt the new booster to the firewall. I used long bolts and nuts as a spacer to avoid modifying the pushrod or purchasing a new adjustable one. I created an adjustable one without touching it.
Booster Mounted Off of Firewall
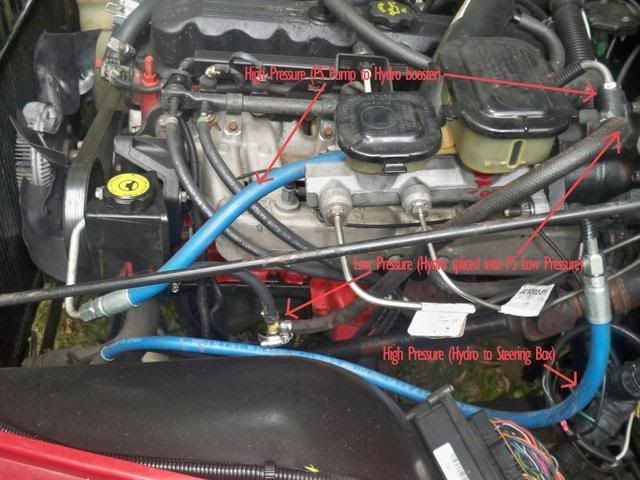
Hose Layout
I used several sources for these upgrades. Sites such as http://www.cjoffroad.com/, http://www.pirate4x4.com/, and www.off-road.com/jeep were very helpful.


No comments:
Post a Comment